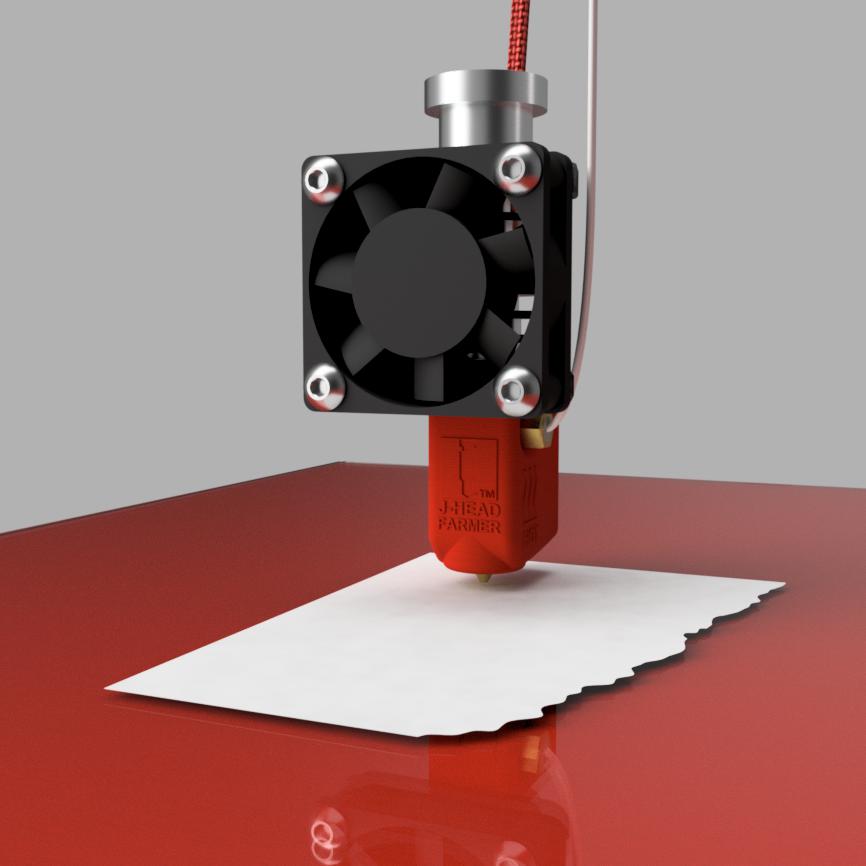
Get A Perfect First Layer With Any 3D Printer

When it comes to 3D printing, getting the perfect first layer is crucial. Not only does it set the foundation for the rest of the print, but it can also be the difference between a successful print and a failed one. In this article, we'll go over some tips and techniques for getting a perfect first layer with any 3D printer. We'll also discuss the pros and cons of different print surfaces, including traditional options like hairspray, gluestick, or blue painters tape, as well as modern options like PEI surfaces.
First things first, let's start with the basics. A perfect first layer requires a level bed and proper bed adhesion. Let's take a closer look at each of these factors.
Level bed:
A level bed is essential for ensuring that your first layer is even and smooth. If the bed is not level, the extruded plastic will have a harder time sticking to it, which can lead to poor bed adhesion and a failed print. There are a few different ways to level the bed, including using a digital probe, a piece of paper, or a bed leveling probe. Each method has its own set of pros and cons, so it's up to you to decide which one works best for you.
Bed adhesion:
Once you've got a level bed, the next step is to ensure that the extruded plastic has good adhesion to the bed. There are several factors that can affect bed adhesion, including the type of filament you're using, the bed temperature, and the bed surface. To get the best adhesion, it's important to experiment with different bed temperatures, and initial layer heights to find the sweet spot for your specific filament.
Hairspray:
Now that we've covered the basics, let's talk about some of the different print surfaces you can use to get a perfect first layer. One of the most popular options is hairspray, which is cheap and easy to apply. Simply spray a thin layer of hairspray on the bed, let it dry, and start printing. The downside to using hairspray is that it can be messy and can leave a residue on your bed, which can be difficult to remove.
Gluestick:
Another option is using a gluestick, which is similar to hairspray but is less messy and easier to clean up. Simply apply a thin layer of gluestick to the bed, let it dry, and start printing. The main drawback to using a gluestick is that it can be difficult to get the right amount of adhesion, as it's easy to apply too much or too little.
Blue Painters Tape:
Blue painters tape is another popular option, especially for printing with ABS filament. Simply apply a thin layer of tape to the bed, and you're ready to go. One of the main benefits of using blue painters tape is that it's easy to remove and leaves no residue. However, it can be prone to warping and may not provide the same level of adhesion as some of the other options.
PEI:
Finally, we come to modern print surfaces like PEI (Polyetherimide). PEI is a high-quality print surface that is known for its excellent bed adhesion and ease of use. It's also very durable and can withstand high temperatures, making it a great option for printing with materials like PETG and nylon. One of the main benefits of using a PEI surface is that it allows you to print without using any additional adhesives or tapes. Simply apply a thin layer of cleaning solution to the bed, let it dry, and you're ready to go. The only downside to using a PEI surface is that it can be expensive and may require more maintenance, as it needs to be cleaned and re-coated periodically.
In conclusion, getting a perfect first layer with any 3D printer requires a level bed, good bed adhesion, and the right amount of extrusion. There are several different print surfaces to choose from, each with their own set of pros and cons. Hairspray, gluestick, and blue painters tape are all traditional options that are cheap and easy to use, but may not provide the same level of adhesion and durability as modern options like PEI surfaces. Ultimately, the best print surface for you will depend on your specific needs and preferences, so it's important to experiment and find what works best for you.
 Proudly Made In The USA