 Proudly Made In The USA
Why Calibrate E-Steps For Your 3D Printer
3D printing technology has rapidly advanced, granting us the power to bring our digital designs to life with remarkable precision and detail. However, achieving this level of accuracy requires careful calibration of the printer's components, particularly the extruder. A critical aspect of this process is the calibration of extruder steps, also known as E-steps.
What Are E-Steps?
E-steps refer to the number of steps a stepper motor performs before the filament moves 1mm. This value is integral for the 3D printer to accurately track filament motion at the nozzle.
A stepper motor is a low-cost way to track motion and provide specific results without additional sensors. It operates by moving a certain number of steps, which equates to the rotation of a gear. For instance, if the firmware (MarlinFW, Repeater, ReprapFirmware, Smoothieware, Klipper etc) instructs the extruder's stepper motor to move 200 pulses, it equals the movement it thinks it moved. This ensures the machine can accurately track the motor's position and movement.
When adjusting the E-steps, you're not changing how many steps the motor is performing. Instead, you're informing the printer about the number of steps that correspond to 1mm of filament. Essentially, by inputting the E-step value, you're providing the printer with a conversion between extruded filament length and stepper motor action. This allows the printer to track what's happening at the nozzle during extrusion, even without a sensor tracking the filament's exit from the nozzle!
Why is E-Step Calibration Important?
Accurate E-step calibration ensures your prints receive the correct amount of filament. Without proper calibration, you may encounter problems associated with under and over-extrusion, resulting in a too familiar "far-from-perfect" print.
When the E-step value isn't correctly calibrated, the printer deposits either too much or too little filament for each layer. If there's insufficient filament, you'll find gaps between layers, resulting in weak final parts, warping, and poor adhesion. On the other hand, too much filament can cause blobbing, stringing, and drooping. It can also lead to more frequent nozzle clogs and increased part failures.
Imagine trying to pipe icing onto a cake while blindfolded. You wouldn't know how much icing is coming out, making it difficult to lay a perfect, uniform layer. Similarly, without the correct E-step value, a 3D printer cannot accurately control filament extrusion.
The Role of E-Step Calibration in Optimizing 3D Print Quality
Calibrating your E-steps doesn't consume too much time, but it can significantly improve your print quality and eliminate issues related to under and over-extrusion. Moreover, the calibration process is relatively simple, and the results should be immediately noticeable.
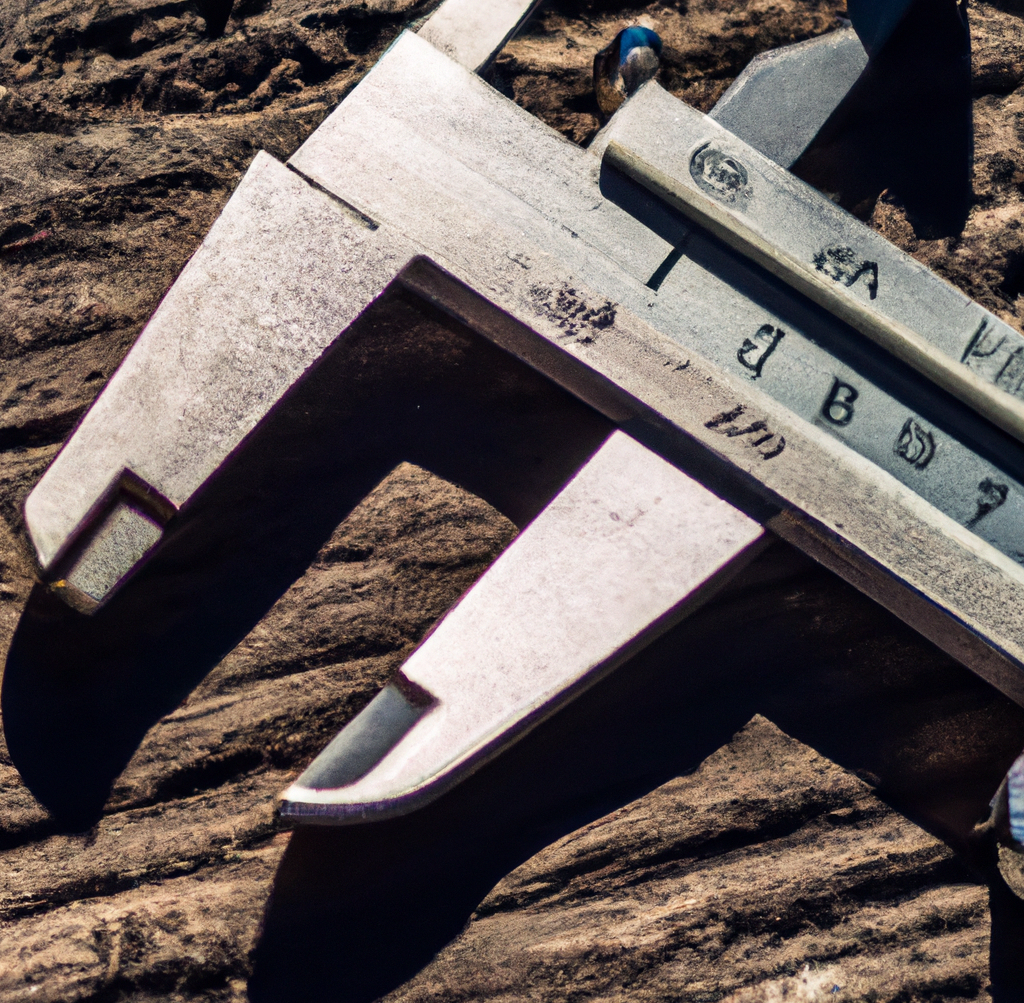
Using The E-Step Calculator
To calibrate E-steps, you need to know the current E-steps value, the requested extrusion length (the amount of filament you want to extrude), and the actual extrusion length (the actual amount of filament extruded). You can then calculate the new E-steps value using the formula:
New E-steps = (Actual extrusion length / Requested extrusion length) * Current E-steps
For instance, if your current E-steps value is 438, the requested extrusion length is 100mm, and the actual extrusion length is 112mm, the new E-steps value would be:
New E-steps = (112 / 100) * 438 = 490.56
E-step calibration is a simple yet essential step toward achieving high-quality 3D prints. By ensuring your 3D printer's E-steps are correctly set, you can significantly improve your print quality and avoid common issues related to under and over-extrusion. So, don't underestimate the importance of this calibration step. Use the handy E-steps calculator at hotends.com to simplify the process and enjoy significant improvements in your 3D printing projects!