 Proudly Made In The USA
Slicer settings for Ender 3 Pro
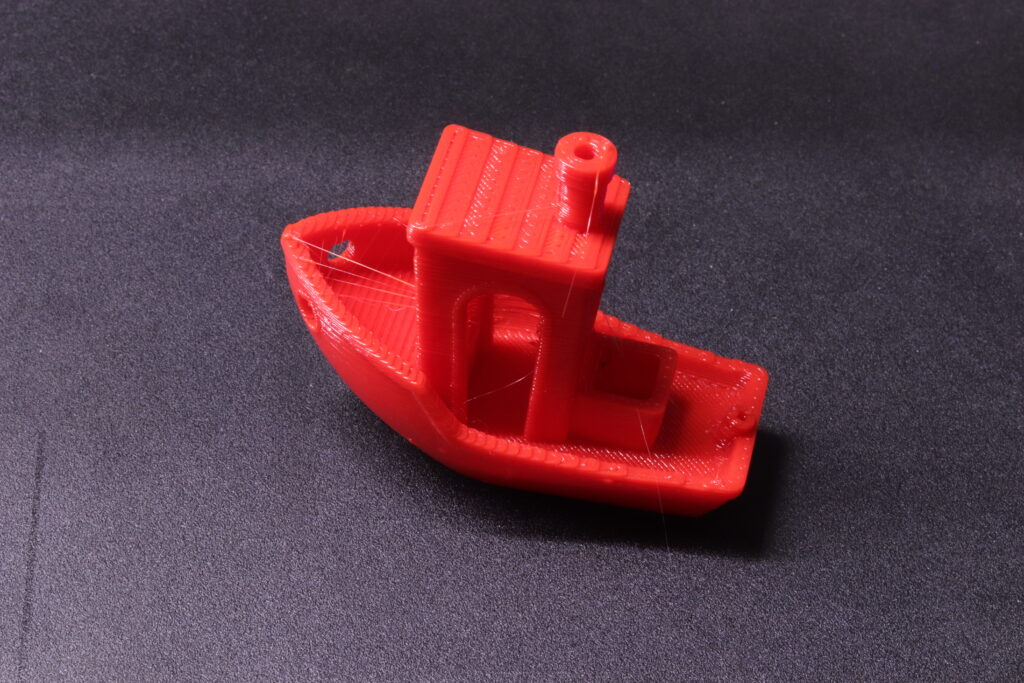
Printed with the stock slicer settings for Ender 3 Pro with a J-Head Farmer hotend.
There are many choices when it comes to Slicers for 3D Printing and one such we will look at today is Prusa Slicer.
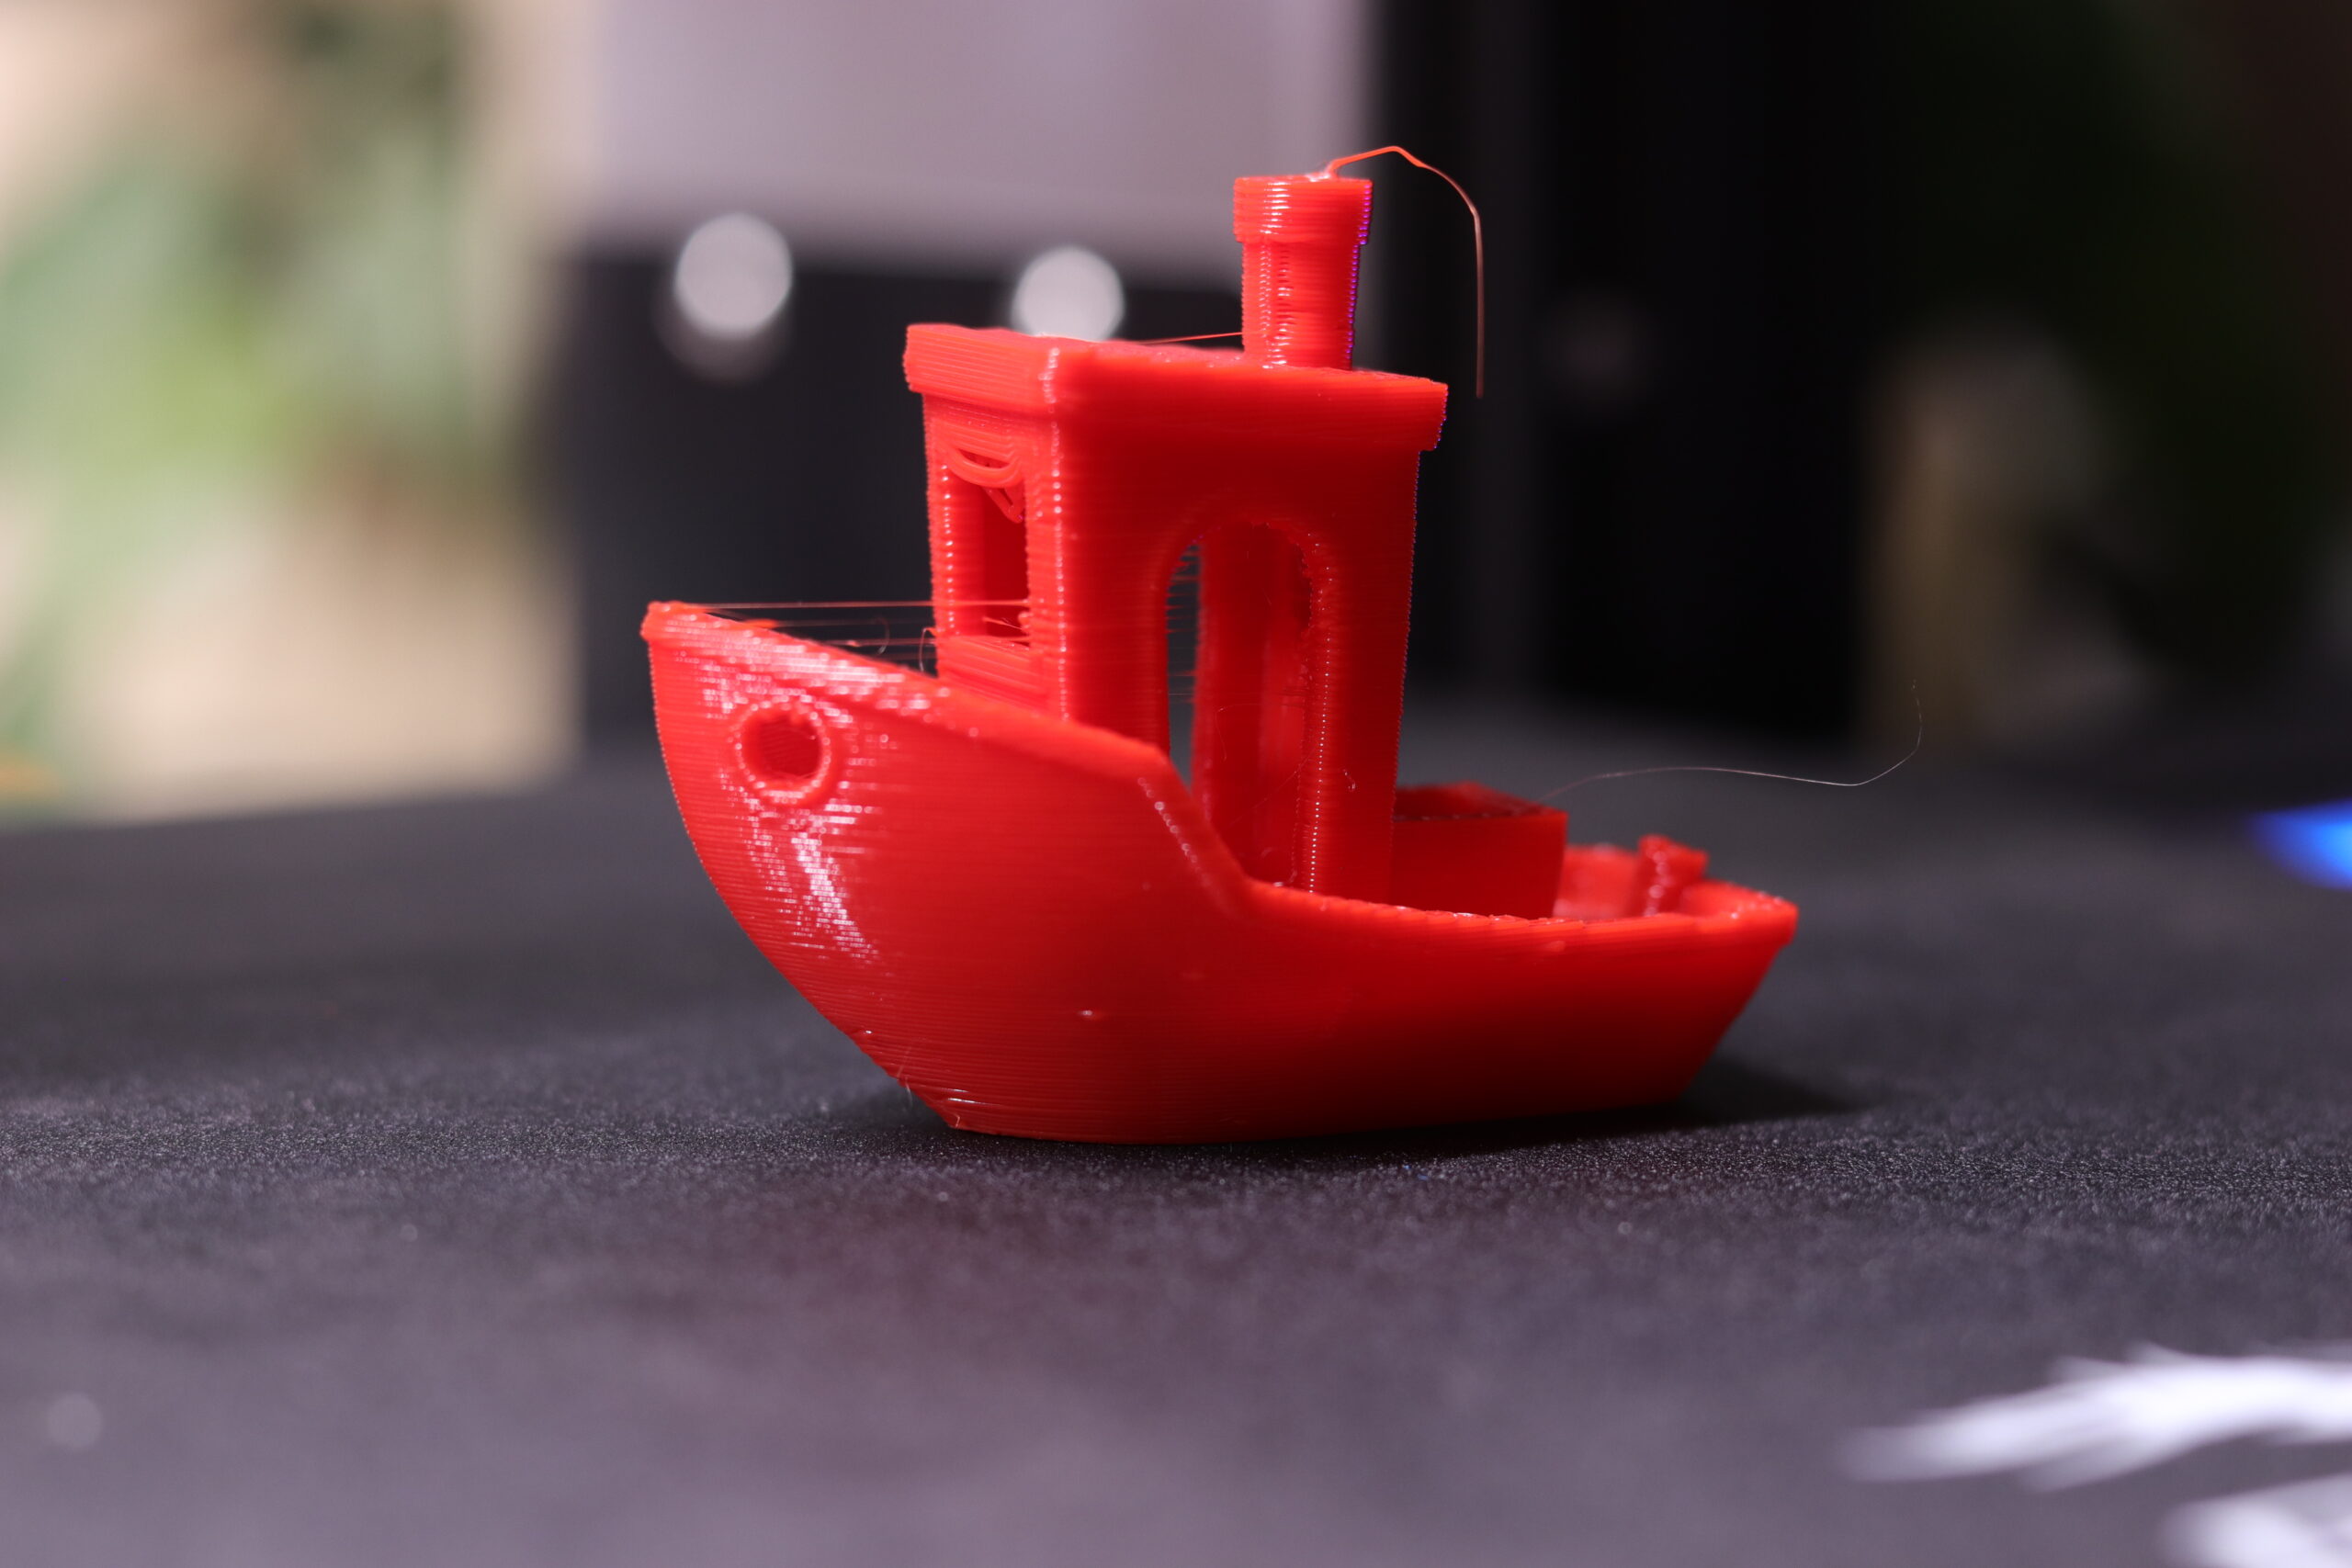
In testing the new J-Head™ Farmer hotend with various slicers on popular printers, I figured an Ender 3 Pro would be a suitable candidate for doing these tests. Many of you are at least familiar with the printer. So I loaded up a fresh stock profile for the Ender 3 Pro on Prusaslicer and ran a Benchy test print without changing any settings.
As you can see, there was a little bit of Stringing - Bridging was also showing issues.
Slicer Settings For Ender 3 Pro - how to improve
How to get rid of stringing
There are several ways you can eliminate or greatly reduce stringing on a 3D Print.
- Reduce Print Temperature
- Slow Down/Speed Up Retraction Speed
- Increase Retraction
3D Models are all of different shapes and sizes. The settings you use for one print may be slightly different than for other models. So you will not really find any hard-fast rules here.
Playing with the printing temperature can usually help by reducing your hotend temperature by 5 degrees.
Sometimes slowing down your retraction speed can actually help!
If your retraction length is too small and you have a Bowden printer with PTC fittings it may not be actually moving it as far as it thinks it is. This is why I recommend the Bowden Aglet™ fittings.
Bowden Aglet™
The Bowden Aglet fitting stops your PTFE tube from moving up and down on retractions. This constrains your filament so the printer controller knows where the filament actually is in space vs just wishing and hoping where it thinks it should be.
You won't have to worry about coming back to your printer and finding the PTC fitting failed, allowing it to extrude filament into a bird's nest or worse!
I hope this little bit of information was helpful to you.
Happy printing!
One Comment “Slicer settings for Ender 3 Pro”